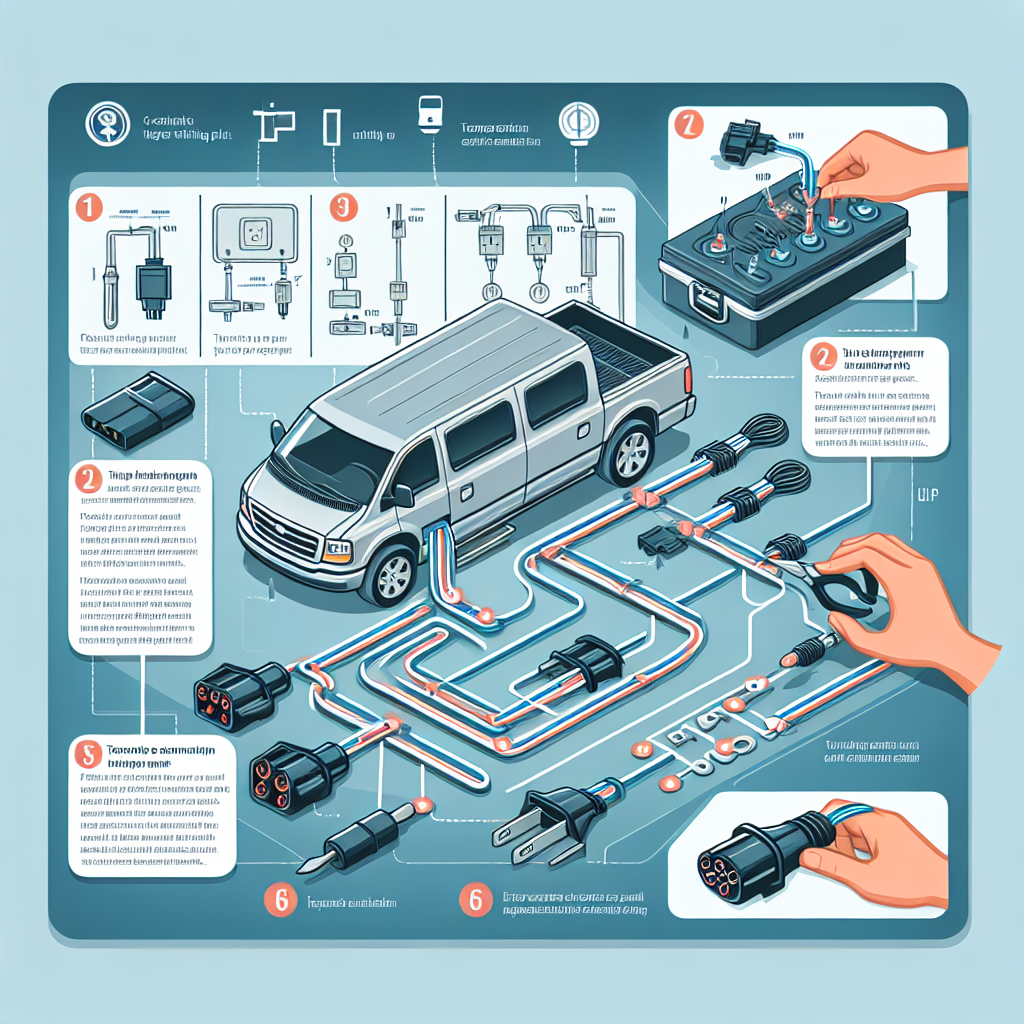
In this article, you will learn how to easily install a 7-prong trailer wiring plug. If you enjoy the freedom of hitching up your trailer and hitting the open road, then this step-by-step guide is for you. With just a few tools and some basic knowledge, you’ll be able to safely and securely connect your trailer’s electrical system to your vehicle, ensuring a smooth and reliable towing experience. So, grab your tools and let’s get started on this DIY project!

Understanding 7-Prong Trailer Wiring Plugs
If you’re a frequent trailer user, you’ll know the importance of having a reliable and functional wiring system. The 7-prong trailer wiring plug is a popular choice among trailer owners due to its versatility and compatibility with a wide range of trailers. In this article, we will help you understand the function of a 7-prong trailer wiring plug, explore the different types of trailer plugs available, and discuss why a 7-prong plug might be the right choice for you.
Understanding the Function of a 7-Prong Trailer Wiring Plug
The 7-prong trailer wiring plug, also known as the RV-style plug, provides a comprehensive solution for connecting your trailer to your vehicle. It consists of seven pins, each serving a specific function. These functions include providing power to the trailer’s running lights, brake lights, turn signals, electric brakes, and auxiliary power. By using a 7-prong trailer wiring plug, you can ensure that all the necessary electrical connections are established, allowing for safe and efficient towing of your trailer.
Different Types of Trailer Plugs
While the 7-prong trailer wiring plug is one of the most widely used trailer plugs, it’s essential to know that there are other types of plugs available in the market. Some common types include the 4-prong, 5-prong, and 6-prong plugs. Each type of plug has its own configuration and is designed to accommodate different trailers and their electrical needs. However, the 7-prong plug, with its additional pins, provides greater versatility and is capable of handling a wider range of trailer electrical systems.
Why Choose a 7-Prong Trailer Plug
Choosing a 7-prong trailer plug offers several advantages. Firstly, its compatibility with a broader range of trailers ensures that you can tow various trailers without worrying about the electrical connection. Whether you’re towing a camper, boat, or utility trailer, the 7-prong plug will have you covered. Additionally, the 7-prong plug’s capability to provide power to auxiliary devices, such as a refrigerator or interior lights within the trailer, adds convenience and flexibility to your towing experience. Moreover, in terms of resale value, trailers equipped with a 7-prong wiring system tend to be more desirable, making it a worthwhile investment.
Safety Precautions
Before diving into the installation process, it’s crucial to prioritize safety. Working with electrical connections can be hazardous if proper precautions are not taken. Here are some important safety precautions to follow:
Safe Workspace
Ensure that you have a well-lit and clean workspace free from clutter. This will minimize the chances of accidents and make it easier to organize your tools and materials.
Disconnecting Power Sources
Before working on your trailer’s wiring, disconnect the power sources. This includes turning off your vehicle’s engine and unplugging any electrical connections from the trailer.
Wearing Protective Gear
Always wear appropriate personal protective equipment (PPE) such as safety glasses and gloves. These will protect you from potential injuries and ensure a safer work environment.
Avoiding Potential Hazards
Be cautious of any potential hazards in your work area, such as sharp objects or exposed wires. Take necessary precautions to prevent accidents and ensure your safety throughout the installation process.
Tools Needed for Installation
To successfully install a 7-prong trailer wiring plug, you’ll need a few essential tools. Here are the tools you should have on hand:
Types of Wire Cutters
Wire cutters come in various types, including diagonal cutters and needle-nose pliers with cutting edges. These tools are essential for cutting and trimming wires to the desired lengths.
Choosing the Right Screwdriver
Having a set of screwdrivers with different sizes and types is crucial for attaching the wires to the plug. Phillips and flathead screwdrivers are the most commonly used types for this purpose.
Utilizing a Wire Stripper
A wire stripper is a specialized tool designed to strip the insulation off wires. It allows for clean and precise stripping of the wire ends, ensuring a proper connection.
Importance of Electrical Tape
Electrical tape is a critical tool for securing and insulating the wire connections. It provides an extra layer of protection against moisture, corrosion, and accidental contact with other wires.
Preparing for Installation
Before diving into the installation process, proper preparation is key. Here’s a step-by-step guide to help you prepare for installing a 7-prong trailer wiring plug:
Measuring the Wire Length
Begin by measuring the length of wire required to connect the trailer’s electrical system to the plug. Ensure that you have sufficient length to reach all the necessary connection points.
Cutting the Wire
Using the appropriate wire cutters, carefully cut the wire to the measured length. Remember to leave some extra length for flexibility and ease of installation.
Stripping the Wire Ends
Using a wire stripper, strip off approximately half an inch of insulation from the ends of the wire. This will expose the bare wire, allowing for a secure connection.
Identifying Wire Colors and Their Functions
Before attaching the wires, identify and familiarize yourself with the standard wire colors and their corresponding functions. This will make it easier to follow the plug diagram and ensure correct connections.
Attaching the Wires
With the necessary preparations complete, it’s time to start attaching the wires to the 7-prong trailer wiring plug. Follow these steps to ensure a successful attachment:
Initial Steps to Attach the Wires
Start by preparing the plug and organizing the wires. Familiarize yourself with the plug diagram and locate the correct pins for each wire connection.
Viewing the Plug Diagram
Refer to the plug diagram to ensure proper alignment and placement of the wires. The diagram will illustrate the corresponding functions for each pin, making it easier to connect the wires correctly.
Attaching Wires According to the Diagram
Using the identified wire colors, match each wire to its corresponding function on the plug diagram. Carefully insert each wire into the appropriate pin slot and secure it tightly.
Securing the Connections
Once all the wires are connected, secure the connections by tightening the screws on the plug. This will ensure a stable and reliable electrical connection.
Testing Connection
After attaching the wires, it’s crucial to test the connection to ensure that everything is functioning correctly. Follow these steps to test the connection:
Utilizing a Circuit Tester
Using a circuit tester, check each pin on the plug for proper functionality. This will help identify any faulty connections or wiring issues that need to be addressed.
Checking for Proper Fit
Ensure that the plug fits snugly into the trailer’s receptacle. A loose connection can cause electrical problems and compromise the safety of your towing experience.
Assuring All Lights are Functioning Correctly
Test each of the trailer lights, including the running lights, brake lights, and turn signals, to ensure that they are functioning correctly. This will help identify any wiring or connection issues that may need further attention.
Securing the Plug
Once you have tested the connection and ensured everything is functioning as it should, it’s time to secure the plug onto the trailer. Follow these steps to properly secure the plug:
Applying Electrical Tape
To provide further protection against moisture and ensure the longevity of the connection, wrap the area where the plug and wires meet with electrical tape. This will help prevent any potential damage caused by exposure to the elements.
Securing the Plug to the Trailer
Using screws or zip ties, secure the plug to the trailer, ensuring it is held firmly in place. This will prevent any excessive movement or strain on the wires, reducing the risk of damage.
Inspecting for Loose Wires
Inspect the entire wiring system, including the connections and wires, for any signs of loosening. Tighten any loose connections and ensure that all wires are properly secured to prevent potential electrical problems.
Offering Additional Safety Measures
Consider adding extra safety measures, such as wire loom or conduit, to protect the wires from physical damage. This will provide additional insulation and safeguard the wiring system during towing.
Troubleshooting Common Issues
Even with careful installation, issues may still arise. Here are some common issues you may encounter and how to troubleshoot them:
Addressing Loose Wires
If you notice any loose wires or connections, immediately tighten them to ensure a secure and reliable electrical connection. Loose wires can cause intermittent electrical problems, affecting the functionality of your trailer lights.
Solving Connection Issues
If some of your trailer lights are not functioning correctly, check the specific wire connections for loose or faulty connections. Recheck the plug diagram to ensure the wires are correctly attached and that there are no crossed connections.
Dealing with Broken Prongs
If one or more prongs on the plug is broken, you will need to replace the plug entirely. Do not attempt to repair the broken prongs as it can compromise the integrity of the connection.
Handling Issues with Trailer Lights
If your trailer lights are not working at all, check the wiring connections from the plug to the lights. Faulty connections or damaged wires may be causing the issue. Replace any damaged wires and ensure all connections are secure.
Maintaining Your Wiring Plug
To ensure the longevity and reliability of your 7-prong trailer wiring plug, regular maintenance is essential. Here are some tips for maintaining your wiring plug:
Regular Checks on Wiring
Periodically inspect the wiring connections for any signs of wear, corrosion, or damage. Address any issues immediately to prevent further damage or potential electrical problems.
Immediate Address of Issues
If you notice any issues with your trailer’s electrical system, such as flickering lights or intermittent connectivity, address them as soon as possible. Ignoring these issues can lead to more significant problems down the road.
Replacing Aging Wires
As wires age, they can become brittle and prone to damage. If you notice any signs of wear or aging, it’s crucial to replace the affected wires promptly. This will ensure a reliable and safe electrical connection.
Keeping the Plug Clean and Dry
Regularly clean the plug to remove any dirt or debris that may accumulate over time. Additionally, ensure that the plug is kept dry to prevent moisture-related issues that can affect the performance of your trailer’s electrical system.
Replacing the Plug
There may come a time when you need to replace your 7-prong trailer wiring plug. Here’s a step-by-step guide on how to replace the plug:
Determining When to Replace a Plug
If the wiring plug has sustained significant damage or is showing signs of wear beyond repair, it’s time to consider replacing it. Additionally, if you are upgrading your trailer’s electrical system, a new plug may be necessary to accommodate the changes.
Choosing the Right Replacement
Ensure that you select the correct replacement plug that matches your trailer’s electrical requirements. Consider the number of pins, wire colors, and functions to ensure a proper fit and compatibility.
Safely Removing the Old Plug
Disconnect the old plug from the trailer by unscrewing the screws or removing any zip ties securing it. Carefully detach the wires from the plug, keeping note of their corresponding functions and connections.
Applying the Installation Steps for Replacement
Follow the same installation steps outlined earlier to attach the wires to the replacement plug. Be mindful of the wire colors and corresponding functions to ensure a successful replacement.
By following these steps and maintaining a properly installed and maintained 7-prong trailer wiring plug, you can ensure a safe and hassle-free towing experience for years to come. Remember to prioritize safety, regularly check for any issues, and promptly address any concerns to ensure the longevity and reliability of your trailer’s electrical system. Happy towing!


