You may have just finished changing your car’s oil, but to your dismay, you discover that the oil drain plug is stripped and doesn’t seem to budge. Don’t fret, as this article will guide you through the process of removing a stripped oil drain plug effortlessly. From simple tools to handy techniques, you’ll be equipped with all the knowledge you need to successfully tackle this frustrating situation and get back on the road in no time. Let’s get started!
Understanding the Issue
What is an Oil Drain Plug
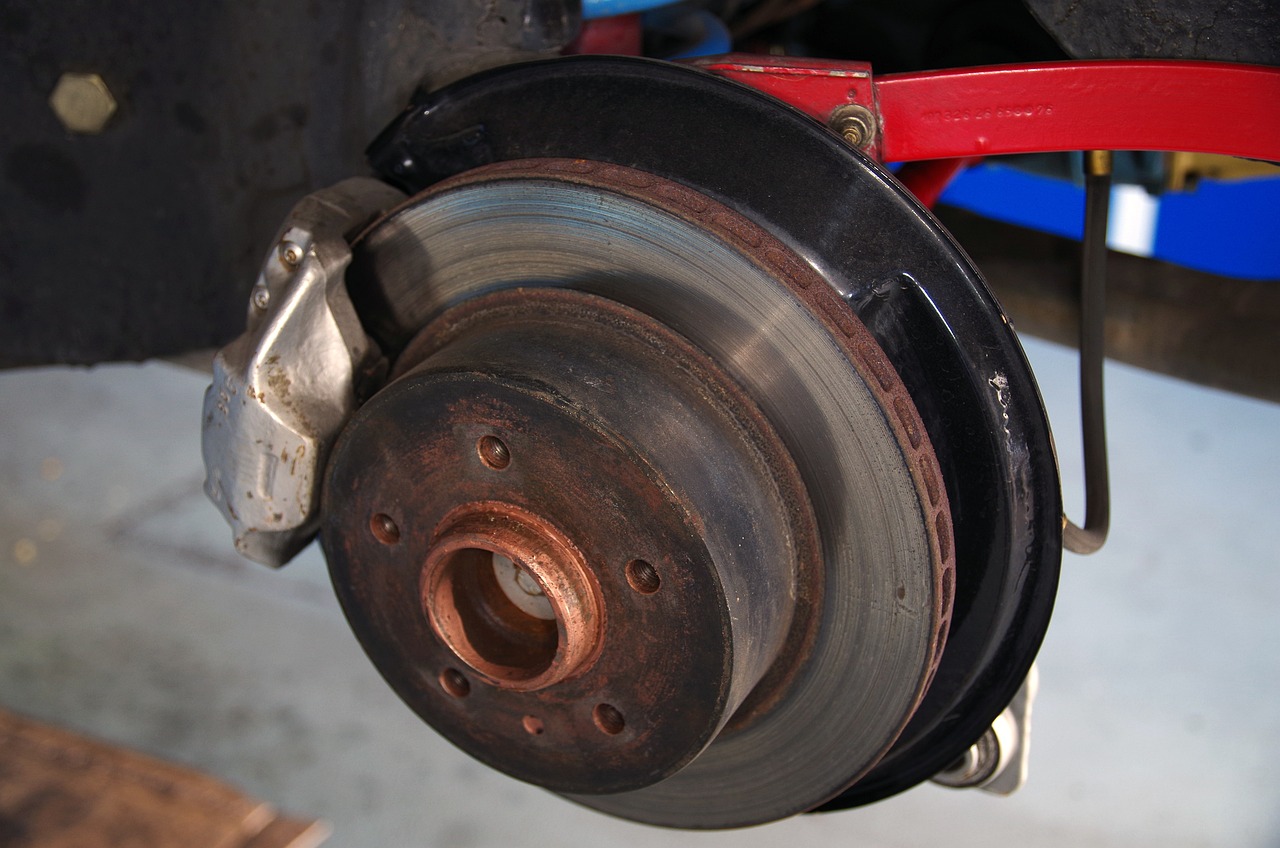
An oil drain plug is a small component located at the bottom of the oil pan in a vehicle’s engine. It is responsible for allowing the removal of old oil during an oil change. The plug is typically made of metal, such as steel or aluminum, and has a hexagonal head for easy removal and installation.
Role of an Oil Drain Plug
The main role of an oil drain plug is to provide a secure seal for the oil pan while also allowing for easy access to drain the oil. This plug ensures that oil remains contained within the engine, preventing leaks and protecting the components from damage due to inadequate lubrication. It is a crucial part of the oil change process and regular maintenance of a vehicle.
What Happens when an Oil Drain Plug is Stripped
When an oil drain plug becomes stripped, it means that the threads on either the plug or the oil pan have become damaged or worn down. This can occur due to over tightening, cross-threading, or using improper tools during installation or removal. A stripped oil drain plug can lead to oil leaks, difficulty in removing the plug during future oil changes, and potential damage to the oil pan or other engine components if not addressed promptly.
Recognizing Stripped Oil Drain Plug Symptoms
Oil Leaks
One of the most obvious symptoms of a stripped oil drain plug is an oil leak. If you notice oil spots or puddles underneath your vehicle after an oil change, it could be a sign that the drain plug is not sealing properly. The leak may start small, but over time it can become more significant, resulting in a loss of oil and potential engine damage if not resolved.
Difficulty in Removing the Plug
If you encounter difficulty in removing the oil drain plug during an oil change, it may indicate that the plug is stripped. This can happen if the threads are damaged or worn down, making it challenging to loosen the plug with a wrench or socket. If you find yourself struggling to remove the drain plug, it’s crucial to address the issue promptly to avoid any further damage.
Damaged Thread on the Plug
Inspecting the oil drain plug itself can also help in recognizing stripped plug symptoms. If you notice any visible damage to the threads on the plug, such as deformation or wear, it suggests that the plug has become stripped. In some cases, the threads on the plug may be intact, but the damage may be present on the oil pan threads. Regardless of where the damage is located, it is essential to address the issue to prevent future complications.

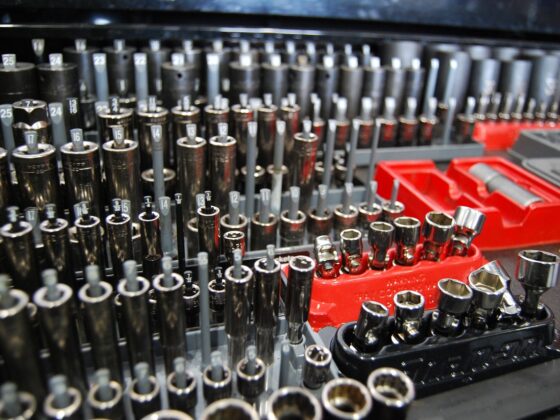
Assembling Necessary Tools
Socket or End Wrench
To remove a stripped oil drain plug, one of the essential tools that you will need is a socket or end wrench. The size of the wrench or socket required will depend on the specific size of the drain plug on your vehicle. It is important to match the wrench or socket size precisely to avoid any damage to the plug or surrounding components during the removal process.
Vice Grip Pliers
Vice grip pliers can be a useful tool when attempting to remove a stripped oil drain plug. These pliers have adjustable jaws that can firmly grip onto the plug, even if the threads are stripped or damaged. The vice grip pliers provide an alternative gripping method and can be particularly helpful in situations where the drain plug is challenging to remove with a wrench or socket.
Drill and Extractor Set
If the stripped oil drain plug is severely damaged or cannot be removed using traditional methods, a drill and extractor set may be necessary. This set includes various-sized drill bits and extractor tools designed specifically for removing stripped plugs. The drill is used to create a hole in the center of the drain plug, while the extractor is then used to grip and remove the damaged plug.
Safety Equipment
Before embarking on any maintenance or repair task, it is essential to prioritize safety. When removing a stripped oil drain plug, it is recommended to wear safety glasses or goggles to protect your eyes from any debris or oil splashes. Additionally, wearing gloves can help protect your hands from sharp edges or hot oil. Safety should always be a top priority during any automotive maintenance procedure.
Safety Measures Before Starting
Secure the Vehicle
Before you begin the process of removing a stripped oil drain plug, it is crucial to ensure that the vehicle is secure and stable. Park the vehicle on a level surface and engage the parking brake to prevent any unintended movement. If necessary, use wheel chocks to further secure the vehicle and minimize the risk of accidents or injuries.
Use Proper Safety Gear
As mentioned earlier, wearing safety glasses or goggles and gloves is highly recommended when working on a vehicle. Additionally, wearing long sleeves and pants can provide an extra layer of protection against hot surfaces or potential contact with oil. Proper safety gear is essential to minimize the risk of injuries and ensure a safe working environment.
Ensure Adequate Lighting
Before attempting to remove a stripped oil drain plug, make sure the area under the vehicle is well-lit. Use a flashlight or work light to illuminate the oil pan and drain plug area. Sufficient lighting will help you properly inspect the plug, ensure you are using the correct tools, and minimize the chances of accidents or mistakes during the removal process.

Procedure to Remove a Stripped Oil Drain Plug using a Wrench
Positioning the Wrench
Start by identifying the correct size socket or end wrench for your stripped oil drain plug. Ensure a snug fit to avoid further damage. Position the wrench onto the drain plug and make sure it is fully engaged. If the drain plug is difficult to access due to limited space, you may need to use a socket swivel adapter or an extension to reach it more comfortably.
Applying Adequate Pressure
Once the wrench is securely in place, apply steady pressure in a counterclockwise direction to loosen the stripped drain plug. Be careful not to exert excessive force, as this can cause further damage. If the drain plug does not loosen easily, try using short, controlled bursts of pressure to gradually free it. Patience and caution are key during this step.
Troubleshooting
If the stripped oil drain plug still does not loosen despite using proper techniques, it may require alternative removal methods. Consult a professional mechanic or consider using a vice grip pliers or a drill and extractor set, as mentioned earlier. Attempting to force the plug can lead to catastrophic damage to the oil pan, which can be expensive to repair.
Procedure to Remove a Stripped Oil Drain Plug using Vice Grip Pliers
Adjusting the Pliers
Before using vice grip pliers, ensure that they are adjusted to fit securely around the stripped oil drain plug. Open the jaws of the pliers and place them around the plug, then use the adjusting screw to tighten the grip. Make sure the pliers are securely locked onto the plug to prevent slipping during the removal process.
Engaging the Stripped Plug
Once the vice grip pliers are properly adjusted, apply steady pressure in a counterclockwise direction to loosen the stripped plug. Be cautious not to apply excessive force, as this can further damage the plug or surrounding components. Slow and deliberate movements are recommended to avoid any unintended accidents or mistakes.
Troubleshooting
If the vice grip pliers fail to remove the stripped oil drain plug, it may indicate that the damage is severe or the grip is insufficient. In such cases, using a drill and extractor set can be an effective alternative. Remember to exercise caution and seek professional help if necessary to avoid causing further damage to the oil pan or other engine components.

Procedure to Remove a Stripped Oil Drain Plug using a Drill and Extractor Set
Selecting the Right Drill Bit
When using a drill and extractor set, it is crucial to select the correct drill bit size. The drill bit should closely match the diameter of the damaged drain plug. Using the wrong size can lead to further damage and make the extraction process more challenging. Refer to the instructions provided with the extractor set to determine the appropriate drill bit size.
Drilling a Hole in the Stripped Plug
Carefully position the selected drill bit at the center of the stripped oil drain plug and begin drilling. Apply steady pressure and maintain control over the drill to ensure a clean and centered hole. Take care not to drill too deeply or at an angle, as this can compromise the integrity of the oil pan or cause damage to nearby components.
Using the Extractor to Remove the Plug
Once the hole is drilled, switch to the corresponding extractor tool provided in your set. Insert the extractor into the drilled hole and gently turn it counterclockwise. The extractor will grip onto the damaged plug and slowly loosen it. Use caution and maintain a steady hand to prevent the extractor from slipping or breaking off inside the plug.
After Removing the Stripped Oil Drain Plug
Inspecting the Oil Pan for Damage
After successfully removing the stripped oil drain plug, inspect the oil pan for any signs of damage. Look for cracks, warping, or threads that may need repair. If you notice any significant damage, it is advisable to consult a professional mechanic to assess the situation and recommend the appropriate repairs or replacements.
Cleaning the Oil Pan and Plug Hole
Before installing a new oil drain plug, thoroughly clean the oil pan and the plug hole to remove any debris or old thread sealant. A clean surface will ensure a proper seal and prevent any potential leaks. Use a lint-free cloth or a suitable cleaning solvent to wipe down the area, ensuring that it is free from oil and contaminants.
Selecting a New Oil Drain Plug
When selecting a new oil drain plug, it is essential to match the specifications of your vehicle’s oil pan. Consider the material, thread size, and length of the original plug to ensure a proper fit. High-quality plugs made from durable materials, such as brass or steel, are recommended for longevity and reliability. Consult your vehicle’s manual or a trusted mechanic for guidance if needed.
Installing the New Oil Drain Plug
Applying Thread Sealant
Before installing the new oil drain plug, apply a thin layer of thread sealant to the plug’s threads. This will help create a tight seal and prevent any potential leaks. Use a thread sealant that is compatible with your oil pan material and follow the manufacturer’s instructions for application. Be cautious not to apply excessive sealant, as it may cause complications during future oil changes.
Setting the New Plug in Place
Place the new oil drain plug at the opening of the plug hole and hand tighten it in a clockwise direction. Ensure that the plug is aligned properly with the threads and does not cross-thread. Once tightened by hand, use a wrench or socket to apply the necessary torque according to the manufacturer’s specifications. Avoid over tightening, as this can damage the threads or the oil pan.
Securing the New Plug Correctly
After tightening the new oil drain plug, double-check its tightness by gently attempting to loosen it with a wrench or socket. If the plug remains securely in place, it indicates a proper installation. However, if it easily turns, it may suggest that the plug is not sufficiently tightened. In such cases, re-tighten the plug until it is secure but avoid excessive force.
Prevention of Future Stripping of the Oil Drain Plug
Regular Maintenance
To prevent future issues with a stripped oil drain plug, it is crucial to follow a regular maintenance schedule for oil changes. Regularly replace the oil and filter as recommended by your vehicle’s manufacturer. By adhering to proper maintenance intervals, you can decrease the likelihood of debris or contaminants accumulating and potentially causing damage to the drain plug or oil pan.
Proper Installation Techniques
When installing an oil drain plug, it is essential to use proper installation techniques. Always thread the plug by hand to avoid cross-threading, ensuring that it engages smoothly with the threads in the oil pan. Use a torque wrench or a socket to tighten the plug to the manufacturer’s recommended torque specification, making sure not to overtighten.
Using Quality Tools
Using high-quality tools when working on your vehicle can significantly reduce the risk of stripping the oil drain plug. Invest in reliable wrenches, sockets, and other necessary tools that match the specifications of your vehicle. Quality tools are designed to provide better grip, torque control, and durability, reducing the chances of damaging the drain plug or surrounding components.
By understanding the issue of a stripped oil drain plug, recognizing the symptoms, assembling the necessary tools, following proper safety measures, and employing the correct removal and installation procedures, you can successfully address the problem and prevent future complications. Regular maintenance, proper installation techniques, and using quality tools are key factors in maintaining the integrity of the oil drain plug and ensuring a smooth and trouble-free oil change process. Remember, if you encounter any difficulties or uncertainties, it is always recommended to seek professional assistance from a qualified mechanic.